Visual Studio Code (VS Code) is a free, powerful code editor created by Microsoft, loved by developers worldwide for its simplicity and versatility. Whether you're a beginner writing your first lines of code or a seasoned coder building web apps, VS Code makes coding easy, fast, and fun. It works on Windows, macOS, and Linux, letting you code anywhere, anytime. With a clean interface, support for tons of programming languages, and tools to help you debug and manage projects, it’s no wonder millions use VS Code in 2025. In this guide, we’ll introduce you to VS Code, walk you through installing it on Windows, and show you how to set up your first project. For a more detailed overview and comparison between VS Code and Visual Studio, check out our blog VS Code vs Visual Studio: Key Differences and Comparison.
What is VS Code: Introduction | Installation Guide (Windows)

What is Visual Studio Code (VS Code)?

-
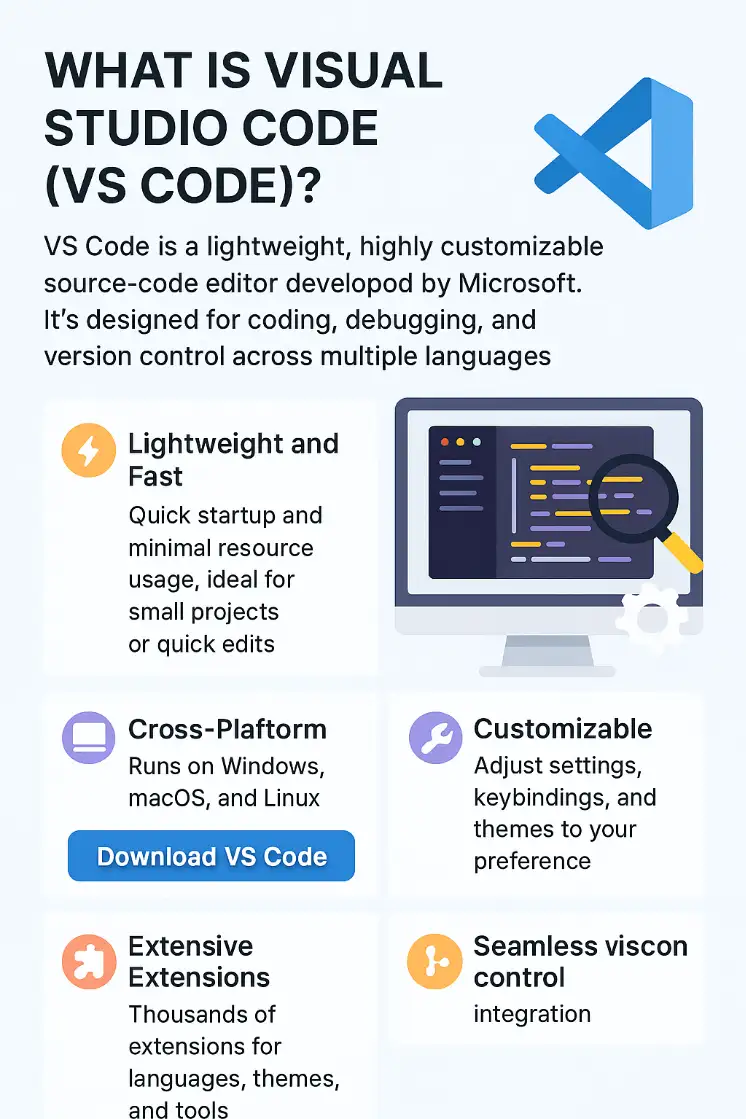
Visual Studio Code (VS Code) is a free, open-source code editor designed to help developers write, edit, and debug code effortlessly. Launched by Microsoft, it’s become a go-to tool for coding in 2025, supporting languages like Python, JavaScript, HTML, and more. Its simple design, combined with powerful features, makes it perfect for everyone—from students learning to code to professionals building complex apps. Here’s what makes VS Code stand out:
-
Open-Source Community: Built and improved by a global community, VS Code is free to use and constantly updated with new features, ensuring it stays cutting-edge for 2025 coding needs.
-
Supports Many Languages: Write code in Python, JavaScript, C++, Java, and more, with built-in support for syntax highlighting and auto-completion to speed up your work.
-
Built-In Debugging Tools: Find and fix errors easily with VS Code’s debugging features, which let you set breakpoints and inspect code without extra software.
-
Task Automation: Simplify repetitive tasks like compiling code or running scripts with VS Code’s task runner, saving you time on Windows projects.
-
Live Preview for Web Coding: Use extensions to preview HTML and CSS changes in real-time, making web development on Windows smoother and faster.
-
Portable Mode: Run VS Code from a USB drive on Windows without installation, ideal for coding on the go or testing setups in 2025.
-
Accessibility Features: Includes screen reader support, high-contrast themes, and keyboard navigation, making coding inclusive for all Windows users.
-
Regular Updates: Microsoft releases monthly updates to add features, fix bugs, and improve performance, keeping VS Code reliable for Windows developers.
Steps to Install Visual Studio Code on Windows :

-
Step 1: Visit the Official Website of the Visual Studio Code using any web browser like Google Chrome, Microsoft Edge, etc.

-
Step 2: Press the "Download for Windows" button on the website to start the download of the Visual Studio Code Application.

-
Step 3: When the download finishes, then the Visual Studio Code Icon appears in the downloads folder.

-
Step 4: Click on the Installer icon to start the installation process of the Visual Studio Code.
-
Step 5: After the Installer opens, it will ask you to accept the terms and conditions of the Visual Studio Code. Click on I accept the agreement and then click the Next button.

-
Step 6: Choose the location data for running the Visual Studio Code. It will then ask you to browse the location. Then click on the Next button.

-
Step 7: Then it will ask to begin the installation setup. Click on the Install button.

-
Step 8: After clicking on Install, it will take about 1 minute to install the Visual Studio Code on your device.

-
Step 9: After the Installation setup for Visual Studio Code is finished, it will show a window like this below. Tick the "Launch Visual Studio Code" checkbox and then click Next.

-
Step 10: After the previous step, the Visual Studio Code window opens successfully. Now you can create a new file in the Visual Studio Code window and choose a language of yours to begin your programming journey!

Get Started with Visual Studio Code

-
You can use VS Code to work on individual files to make quick edits, or you can open a folder, also known as a workspace.
-
Let's start by creating a folder and opening it in VS Code. You'll use this folder throughout the tutorial.
-
Open Visual Studio Code.
-
When you first open VS Code, you should see the Welcome page with different actions to get started.
-
Select File > Open Folder... from the menu to open a folder.

-
Select New Folder, create a new folder named vscode101, and then select Select Folder (Open on macOS).
-
The folder you create is the root of your workspace.
-
On the Workspace Trust dialog, select Yes, I trust the authors to enable all features in the workspace.

-
Because you created the folder on your computer, you can trust the code in the folder.
-
You should now see the Explorer view on the left, showing the name of the folder.
-
You'll use the Explorer view to view and manage the files and folders in your workspace.
-
📝 Tip: When you open a folder in VS Code, VS Code can restore the UI state for that folder, such as the open files, the active view, and the layout of the editor. You can also configure settings that only apply to that folder, or define debug configurations. Get more info about workspaces.
Explore the User Interface | Switch Between Views with the Activity Bar
-
Now that you have a folder open in VS Code, let's take a quick tour of the user interface.
-
Use the Activity Bar to switch between different views.

-
📝 Tip: Hover over the Activity Bar to see the name of each view and the corresponding keyboard shortcut. You can toggle a view open and closed by selecting the view again or pressing the keyboard shortcut.
-
When you select a view in the Activity Bar, the Primary Side Bar opens to show view-specific information.
-
For example, the Run and Debug view enables you to configure and start debugging sessions.

Explore the User Interface | View and Edit Files with the Editor
-
Select the Explorer view in the Activity Bar, and select the New File... button to create a new file in your workspace.

-
Enter the name index.html and press Enter.
-
A file is added to your workspace and an Editor opens in the main area of the window.

-
Start typing some HTML code in the index.html file.
-
As you type, you should see suggestions popping up that help you complete your code (IntelliSense). You can use the Up and Down keys to navigate the suggestions, and Tab to insert the selected suggestion.
-
Add more files to your workspace and notice that each file opens a new Editor tab.
-
You can open as many editors as you like and view them side by side vertically or horizontally. Learn more about side by side editing.

Explore the User Interface | Access the Terminal from the Panel Area
-
VS Code has an integrated terminal. Open it by pressing Ctrl+`` .
-
You can choose between different shells, such as PowerShell, Command Prompt, or Bash, depending on your operating system configuration.

-
In the terminal, enter the following command to create a new file in your workspace:
echo "Hello, VS Code" > greetings.txt -
The default working folder is the root of your workspace. Notice that the Explorer view automatically picks up and shows the new file.

-
You can open multiple terminals simultaneously. Select the Launch Profile dropdown to view the available shells and choose one.
Explore the User Interface | Access Commands with the Command Palette
-
Open the Command Palette by pressing Ctrl+Shift+P. You can also use the View > Command Palette... menu item.
-
Many of the commands in VS Code are available through the Command Palette. When you install extensions, they can also add commands to the Command Palette.

-
📝 Tip: Notice that the Command Palette shows the default keyboard shortcut for commands that have one. You can use the keyboard shortcut to run the command directly.
-
The Command Palette supports different modes of operation:
-
After the > symbol, start typing to filter the command list. For example, type move terminal to find commands to move the terminal to a new window.

-
Remove the > character and start typing to search for files in your workspace. You can use the Ctrl+P keyboard shortcut to open the Command Palette and start searching for files directly.

-
📝 Tip: VS Code uses fuzzy matching to find files or commands. For example, typing odks returns the Open Default Keyboard Shortcuts command.
Summary
What is VS Code? It’s a free, open-source code editor for Windows, macOS, and Linux, perfect for coding in 2025. This guide covers VS Code’s introduction, Windows installation, and setup, with tips on using its interface, terminal, and Command Palette. From opening folders to editing files, VS Code simplifies coding for beginners and pros. Explore its debugging tools, language support, and automation to boost productivity. Learn more at Zedemy’s blog for coding tutorials.
